Let’s Encrypt SSL certificates are all the rage now, because finally, you can get free SSL certificates instantly from the server. What benefit can be more obvious than using a free SSL certificate for Webmin itself? After all, you are probably using Webmin because it’s a great free tool. So let’s start installing this SSL certificate right away.
This is currently the easiest guide to installing the SSL cerficate from Let’s Encrypt into Webmin on the Ubuntu operating system.
Step 1 — Check Webmin Version
Webmin can now request SSL certificates from Let’s Encrypt, the free automated and open certificate authority (CA), from within the user interface since version 1.78.
If you do not know whether your version of Webmin is sufficient, just update all available packages to upgrade to the latest version of Webmin.
Navigate to System > Software Package Updates to see all the available packages that you can update.
Step 2 — Install Let’s Encrypt Client
This step will require some terminal root access to SSH into the Webmin server.
Ubuntu 14.04
Let us directly download and install the certbot client from the EFF download site.
This is much easier than installing the letsencrypt client from source code.
$ cd /usr/local/sbin
$ sudo wget https://dl.eff.org/certbot-auto
You should now have a copy of certbot-auto in the /usr/local/sbin directory.
Make the script executable by typing:
$ sudo chmod a+x /usr/local/sbin/certbot-autoThe certbot-auto client should now be installed and good to use.
Ubuntu 16.04
We can simply download and install the client from the Ubuntu 16.04 repositories.
$ sudo apt-get update
$ sudo apt-get install python-letsencrypt-apache
The letsencrypt client should now be installed and good to use.
Step 3 — Configure and Setup Webmin
Head to your Webmin interface at “https://%HOST_NAME%:10000/”, where %HOST_NAME% should be replaced by the Webmin server’s host name that you want to set up SSL.
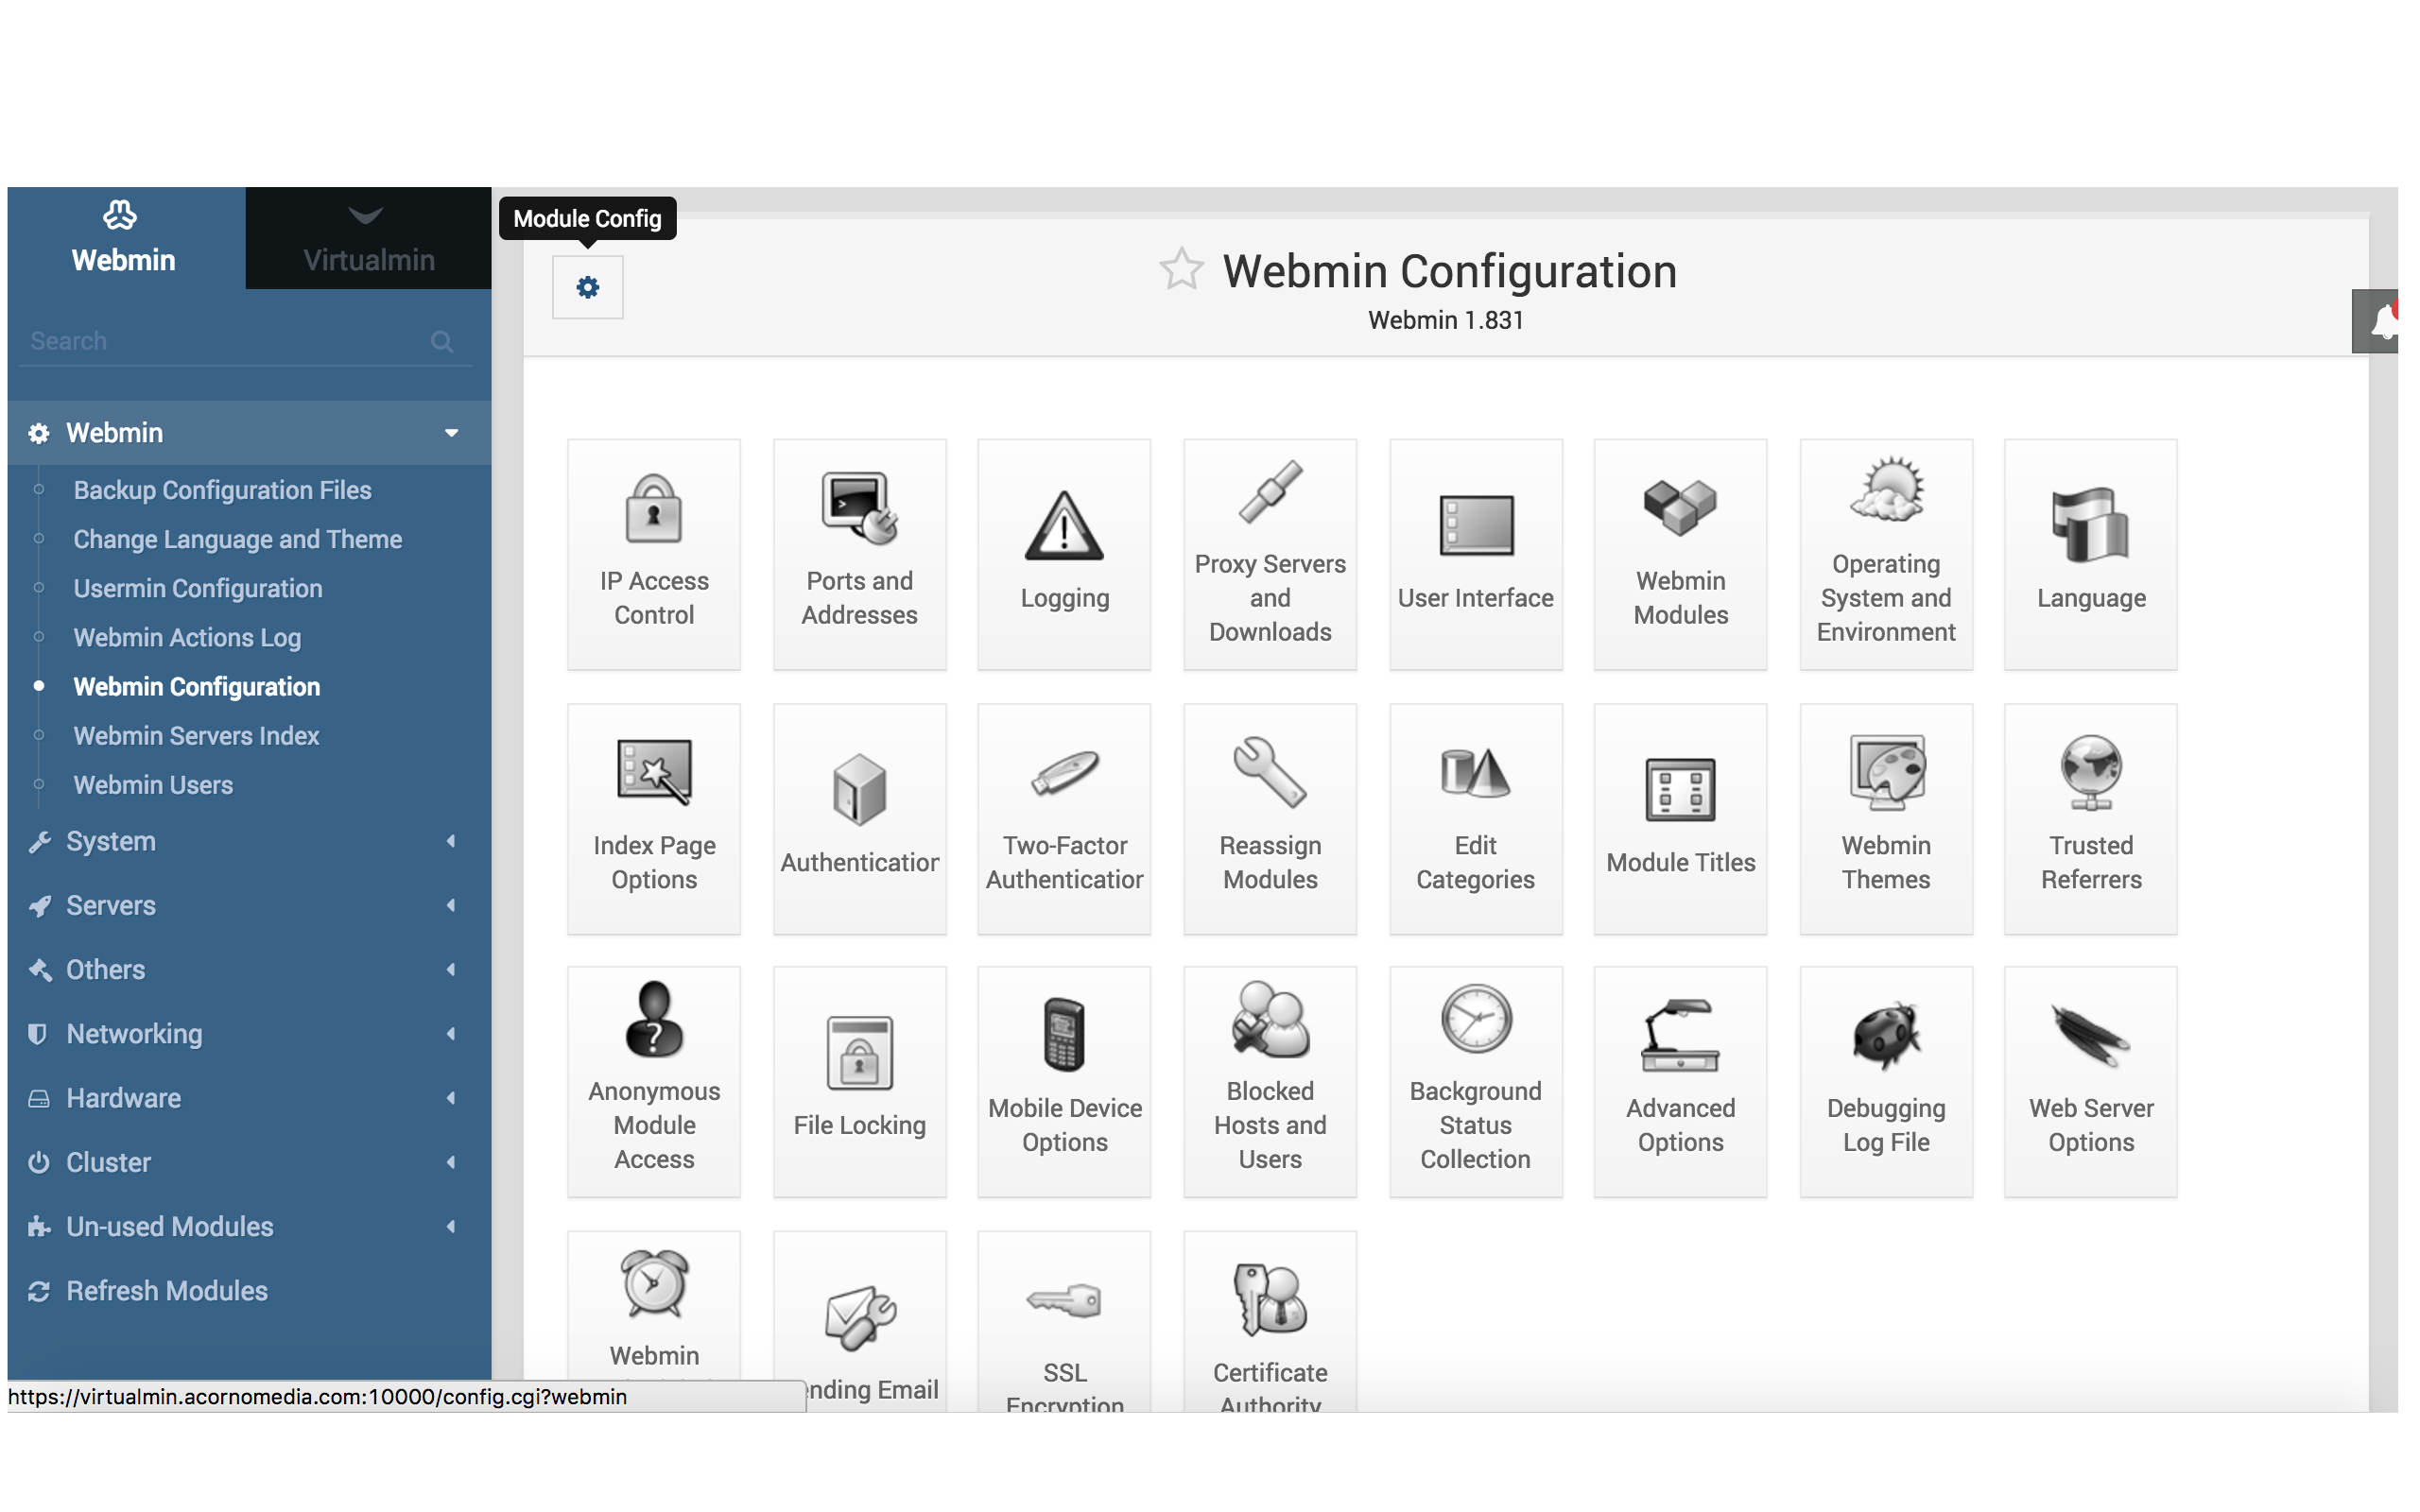
Navigate to Webmin > Webmin Configuration.
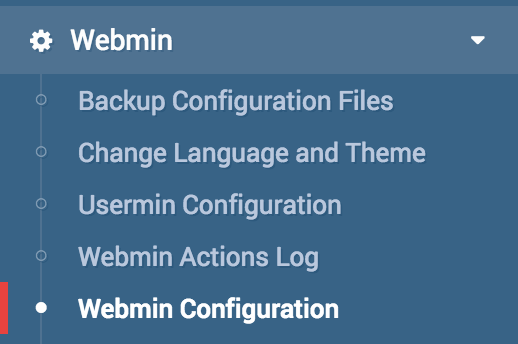
Click on the box with a gear icon on the top left corner called “Module Config”.
Fill in the “Full path to Let’s Encrypt client command” field with the full path of the Let’s Encrypt client (given below).
-
Ubuntu 14.04
/usr/local/sbin/certbot-auto
-
Ubuntu 16.04
/usr/bin/letsencrypt
Then click on the “Save” button.

Navigate to Webmin > Webmin Configuration again.
Now, click on the box “SSL Encryption”.
Click on the “Let’s Encrypt” tab.

Preferrably set the Months between automatic renewal field to 2 so that the SSL certificate can be automatically renewed every 2 months.
SSL certificates from Let’s Encrypt only last for 3 months.
Click on the “Request Certificate” button.
Step 4 — Done
Refresh your Webmin interface at “https://%HOST_NAME%:10000/” again and you will notice that the site is now properly secured via HTTPS with no browser warnings.
This article first appeared here.